Sometimes when teaching Geography with classes that are not too large (although I don’t know exactly what number means “too large” anymore!) I like to have the students engage in a collaborative hands-on learning activity to provide them with a better understanding of the results of probably the greatest erosional force on earth. After all, isn’t it geology that creates landforms and then the glaciers that carve out the details? In addition, you can link the topic to climate change and human activities, past and present. This could include industries that have developed as a result of geology and glaciation (mining, tourism etc.). Also, this could be a great opportunity to discuss historical North American migration, particularly of Indigenous Canadians and Native Americans.
While I have done this activity over and over again, because the kids LOVE the hands-on experience, I feel that there is so much more to say in terms of advice and tips. There are lots of versions of making a glacier model in on the web, but here are some extra tips:
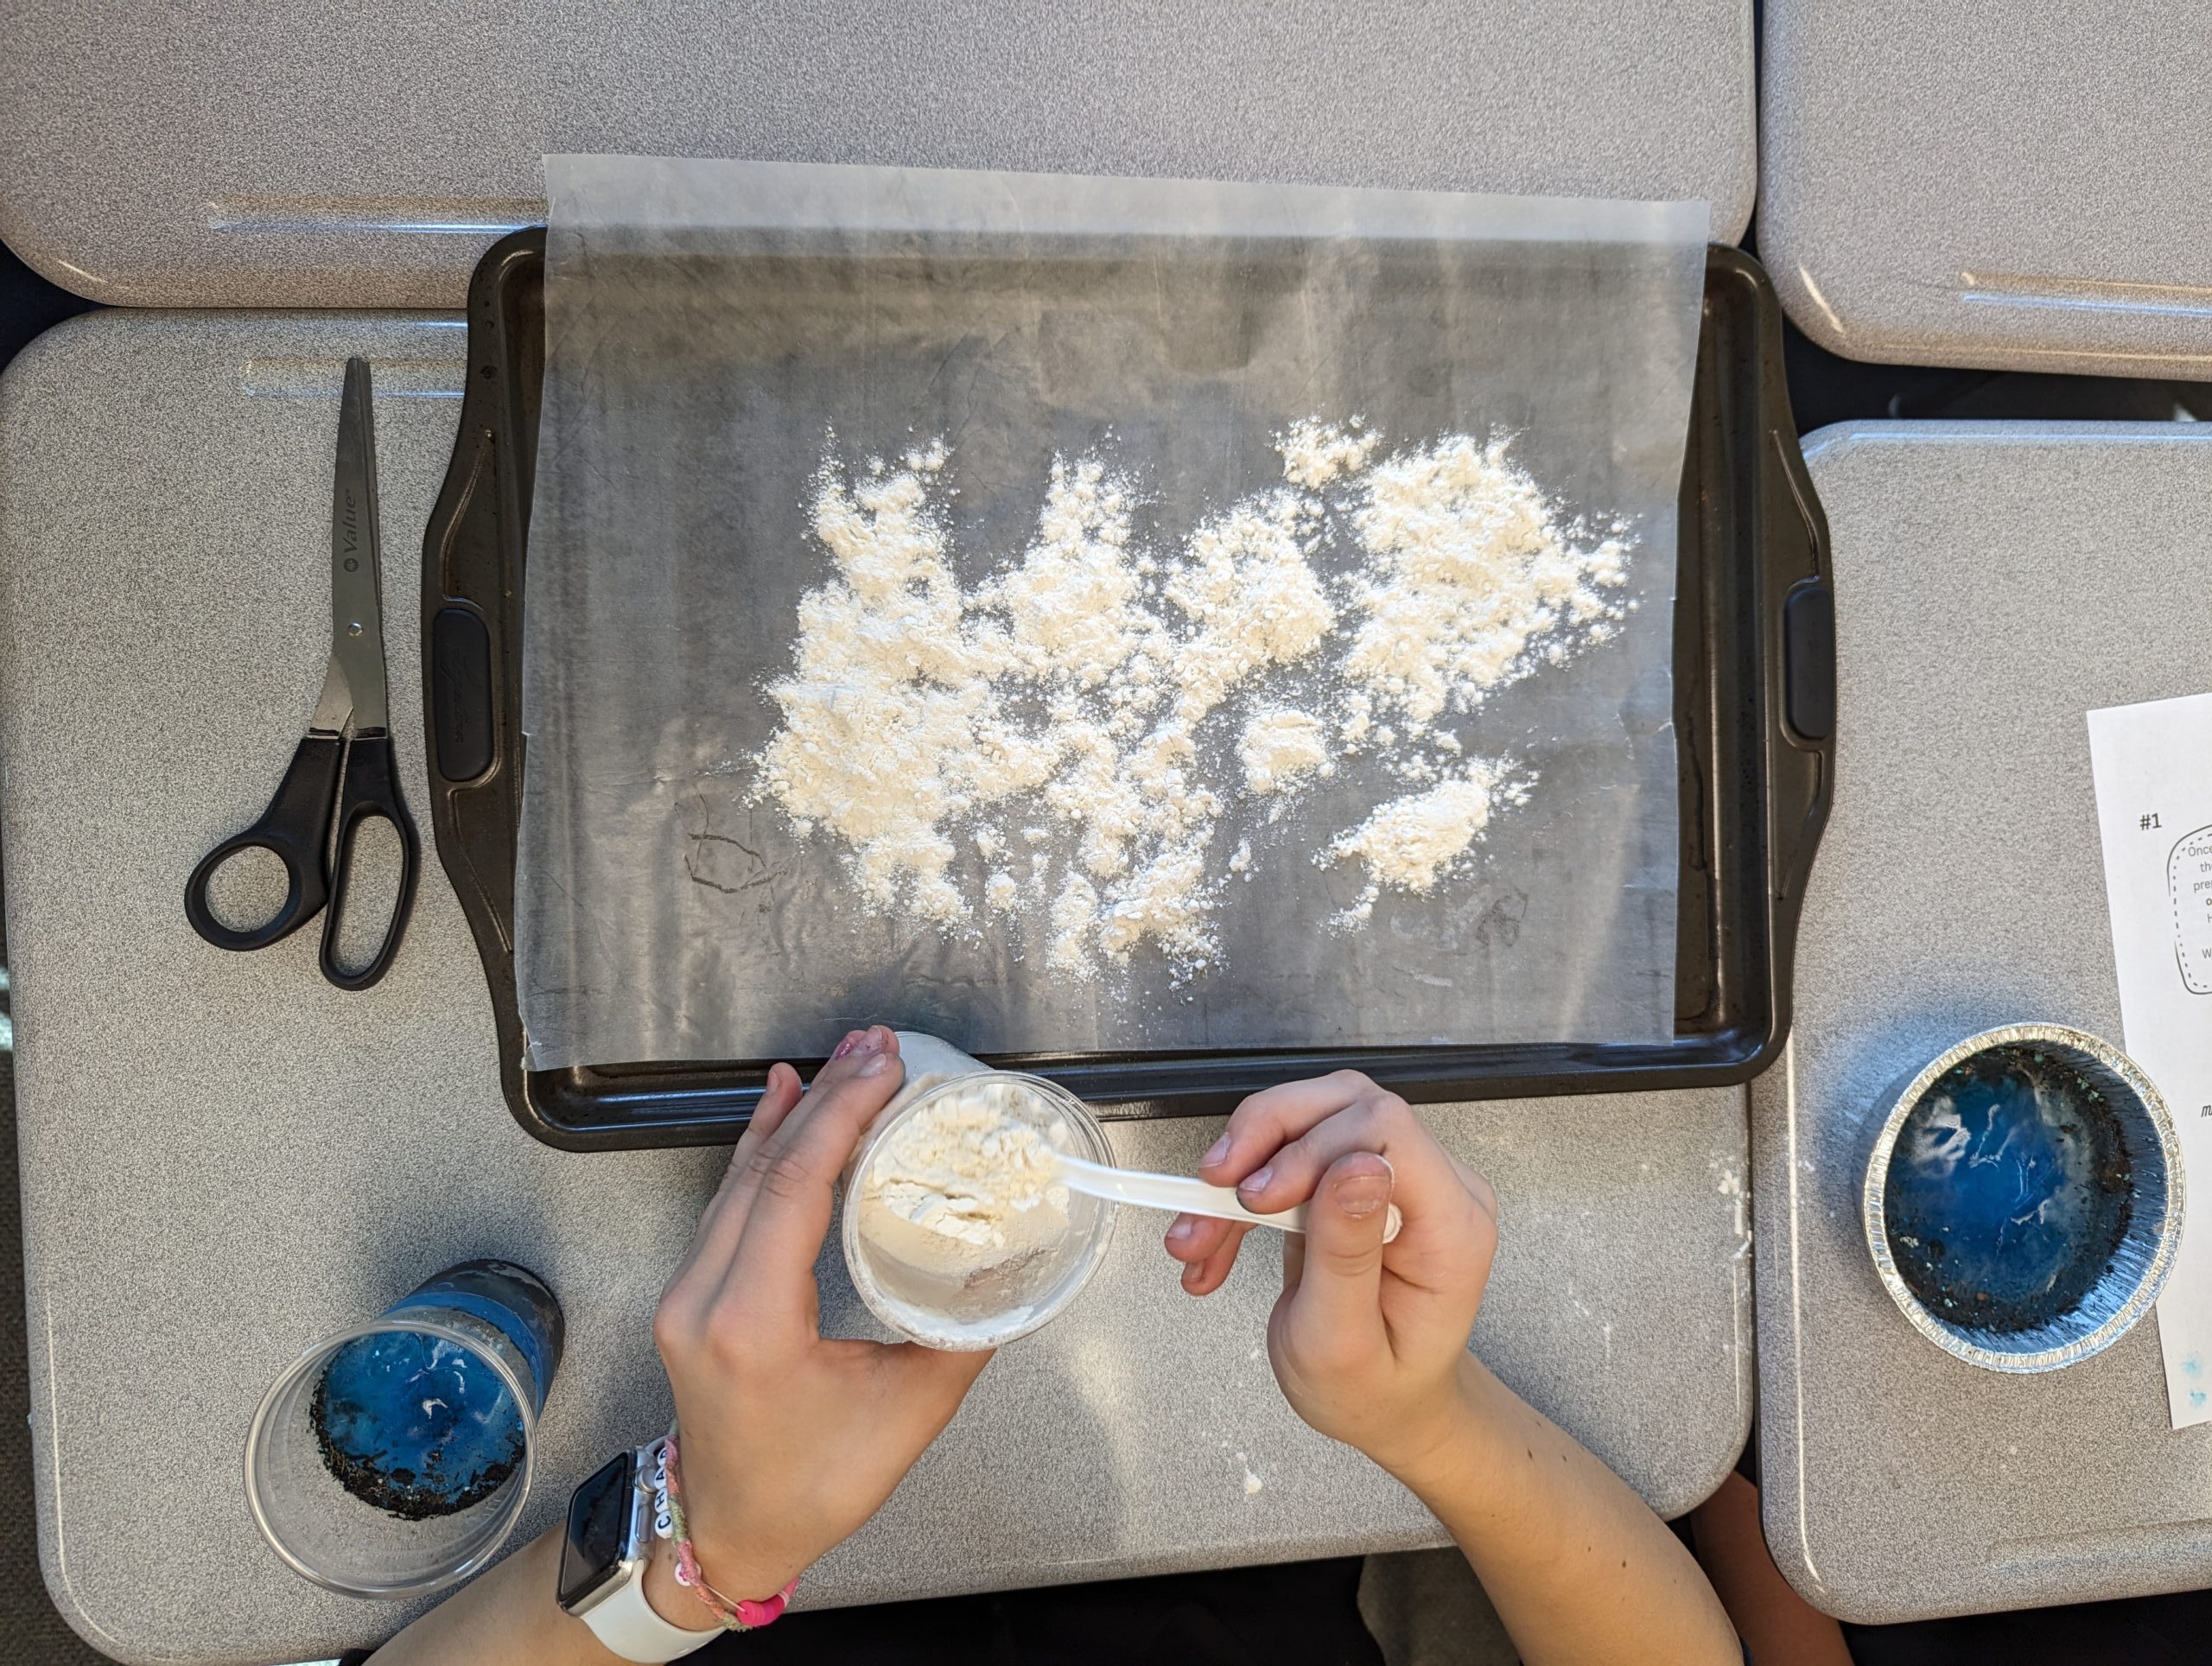
#1. If you have a large class, do it in PAIRS. That means two pairs of students per cookie sheet; Or two glaciers on each cookie sheet.
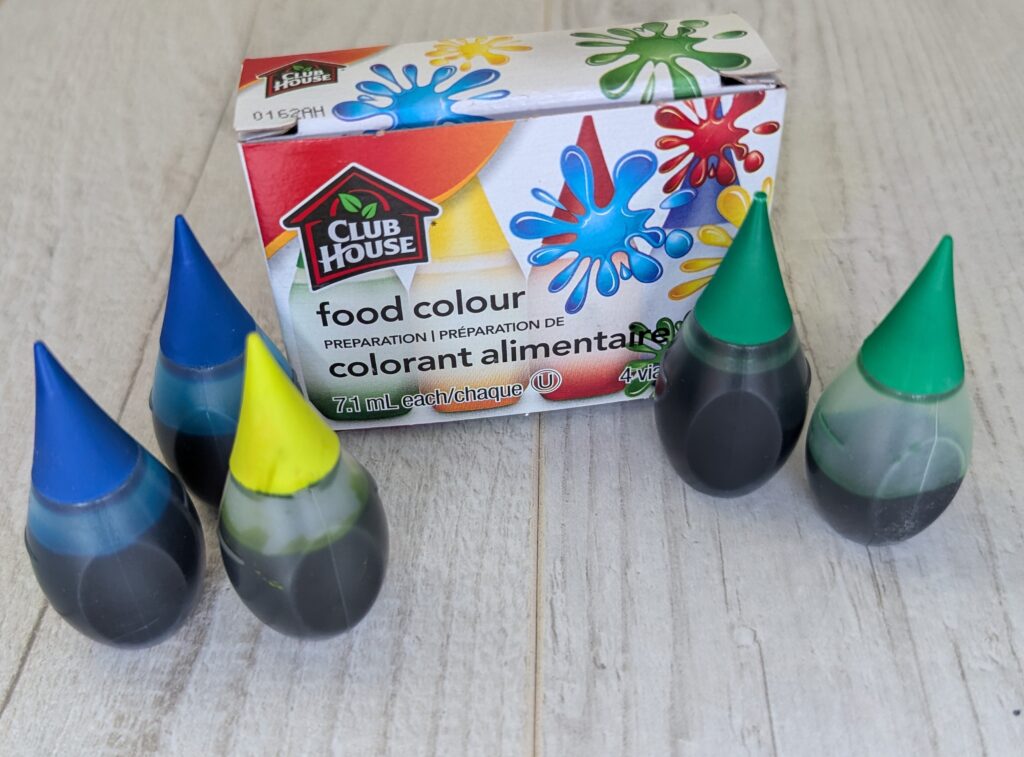
#2. Provide students with a buffet of various rock sizes (pebbles and small river rock work well), dirt, dirt with sticks, grass, sand etc. Essentially, they make their own rock and dirt cocktail to fill a cup 1/3 full. Afterwards they should add water until it is 3/4 of the way to the top of the cup. Lastly, add 1-2 drops of food coloring. In my experience with this activity, plastic drinking cups work between than shorter more shallow containers like aluminum muffin tins.
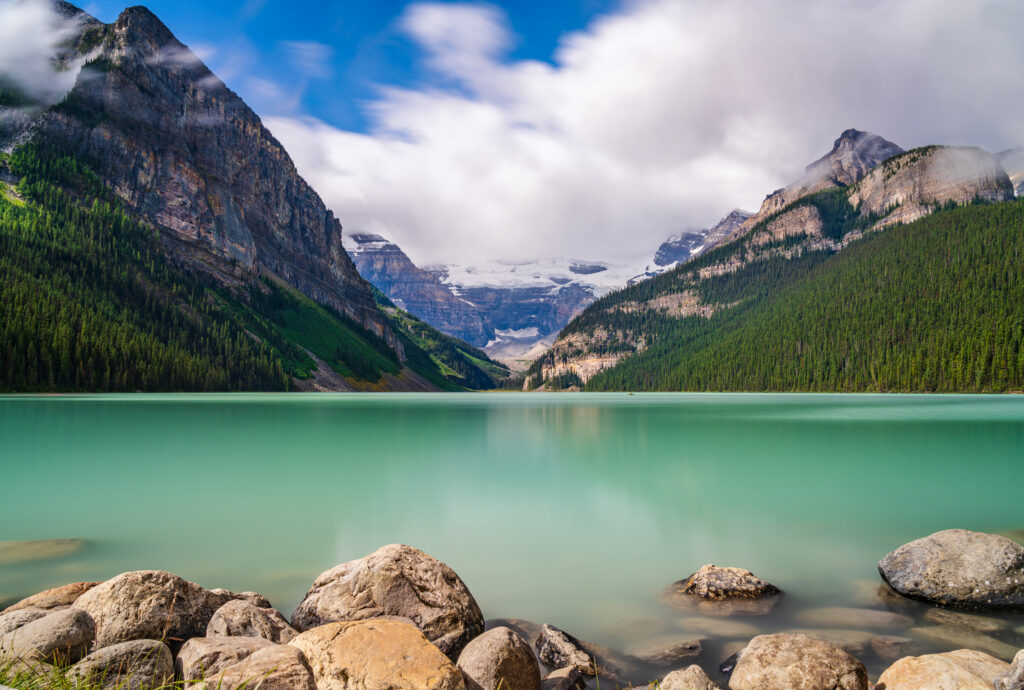
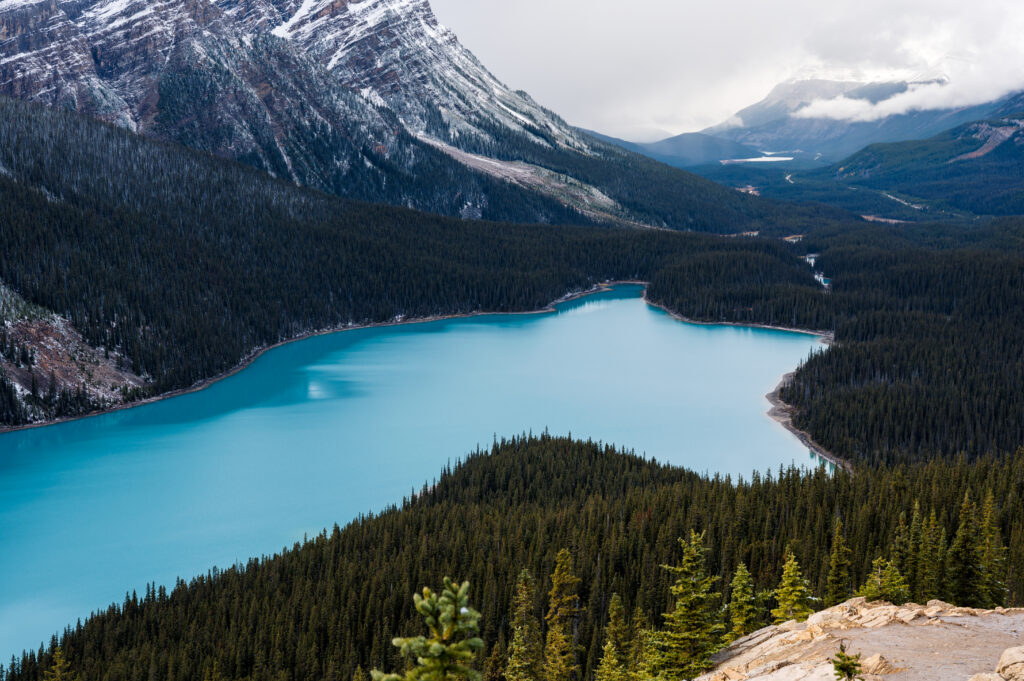
#3. Provide more than just one color of blue food coloring. Let them be creative! Some students will actually concoct the perfect glacial blue. You can have the students check out Lake Louise and Lake Peyto (below) in Banff, Alberta Canada for examples of that glaciation green/blue…
#4. Organize all of the required materials in one station for the students to pick up and take to their own work area to prepare their glacier and landscape.
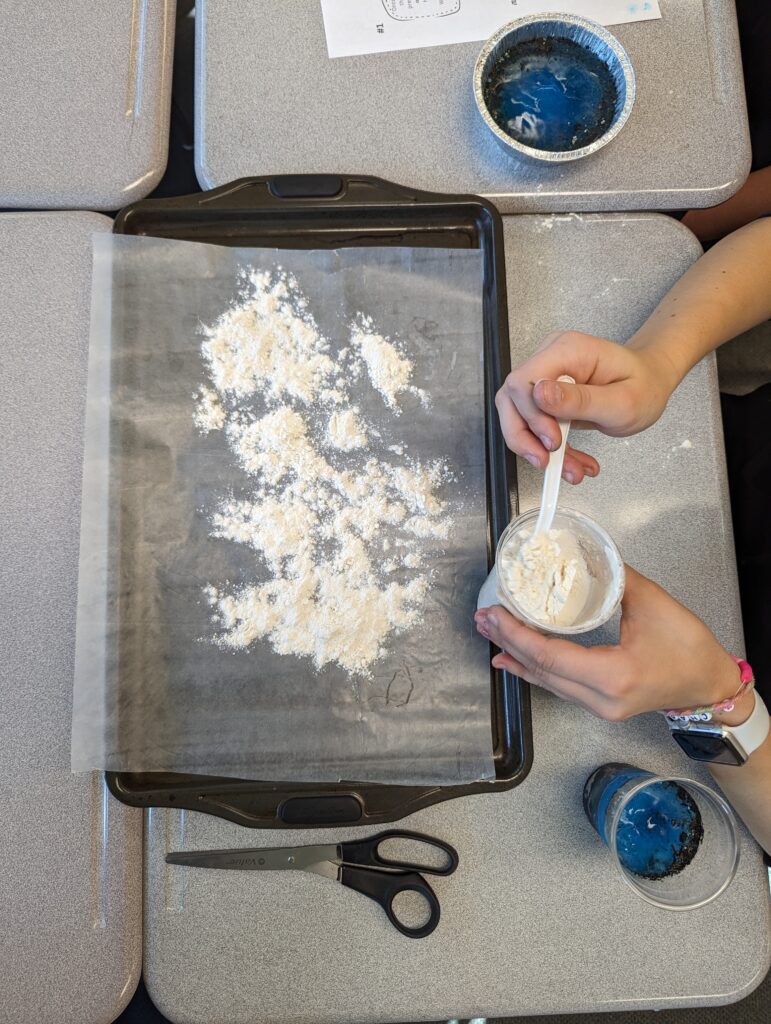
#5. Wax or parchment paper is key for clean-up!
#6. Be sure that you have enough freezer space somewhere in the school to store all of your cups prior to starting this activity. I use one of the cookie sheets that students will use to create their floured landscape in the next lesson to host the filled cups over night.
#7. Time is of the essence for this particular classroom activity. In other words, plan well. It is going to take at least two periods. One period to create the glacier, overnight to freeze them, and another to let the glacier create landforms. But it might even take another period for the ice to have completely melted. I have done it both ways. Once, I did it in two periods as we had a space heater which I put the cookie sheets FAR AWAY FROM, and it was enough that within about 40 minutes the ice melted and landforms were created. The students then completed their worksheets, identifying their newly created landforms.
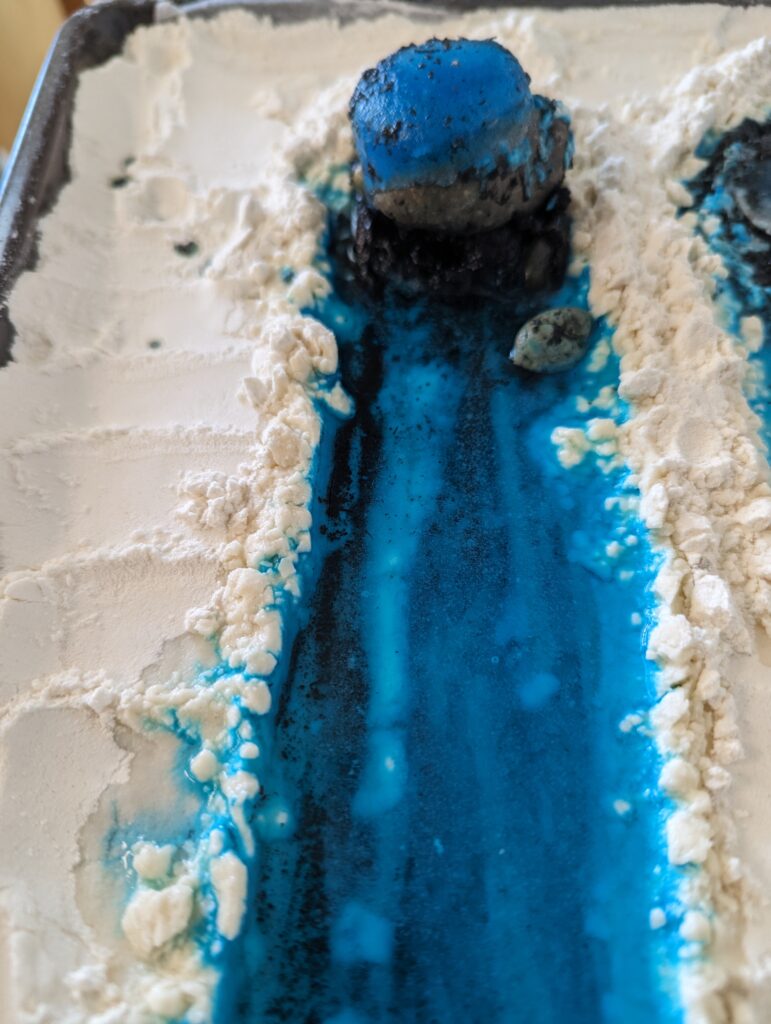
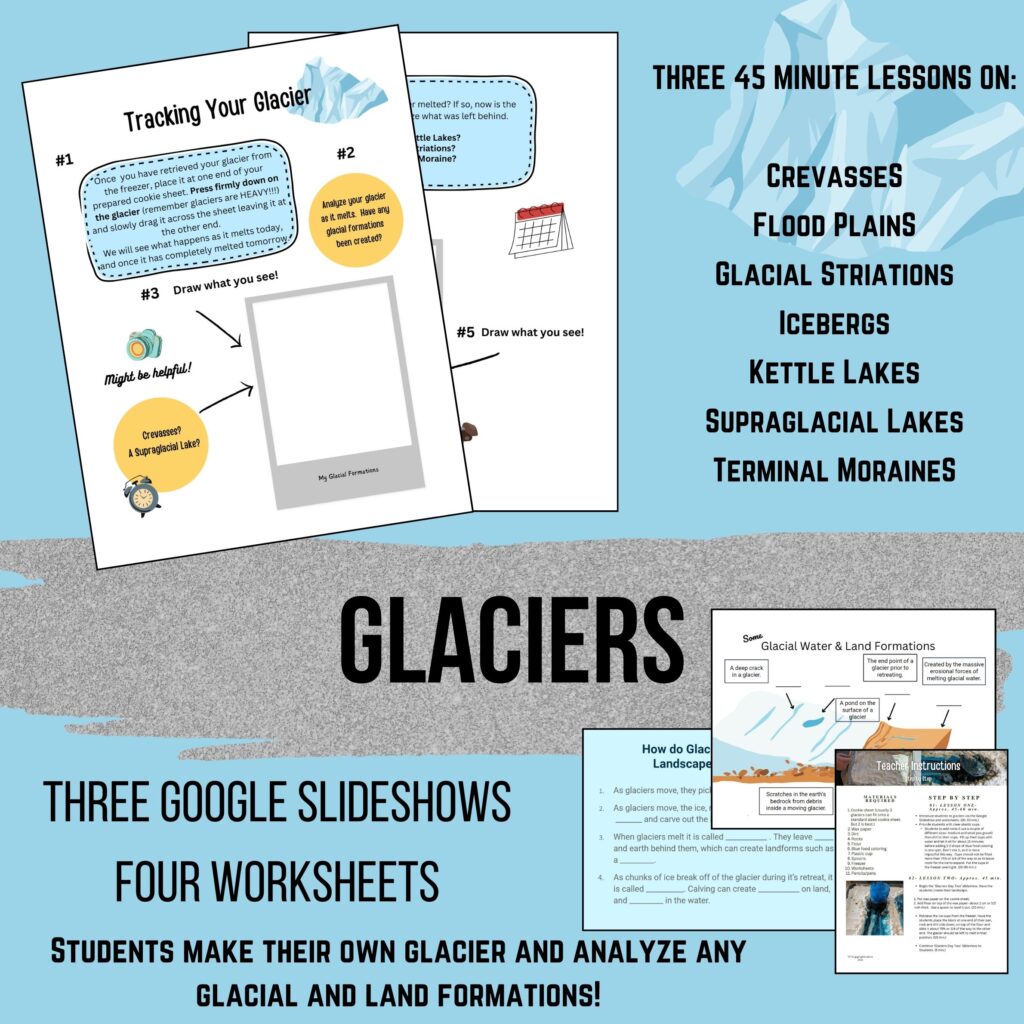
If you think your students would like this type of hands-on learning activity, you can check out the full lesson, that includes three 45-60 minute lessons by clicking on the image below.
Happy Teaching!
